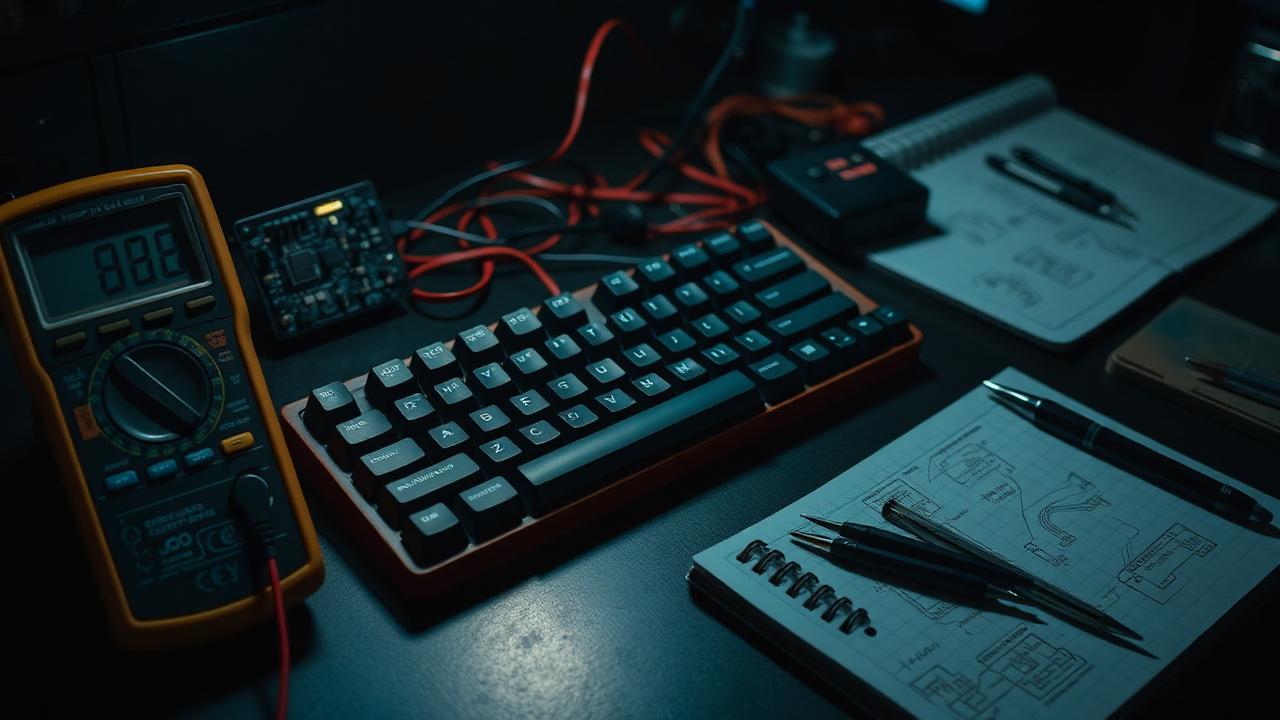
Diagnose in order of cost
The instinct when a key stops working is to open the board immediately. Resist it. Faults have a rough probability distribution, and the most likely causes are also the easiest to test. Working through them in order of effort means you will usually find the problem in under five minutes, and you will avoid the very real risk of introducing a second fault while investigating the first.
The order that works is: verify in software, swap the switch, inspect the socket or joint, test continuity, then suspect the controller. Each step eliminates a class of causes. Skipping ahead is how people end up desoldering a perfectly good switch to fix a problem that was actually a remapped layer in their firmware.
Step one: prove it in software
Open an online key tester and press the key. If the tester registers nothing, the fault is hardware or firmware. If the tester registers the wrong key, the fault is definitely firmware or a keymap layer, not the switch. This single test splits the problem space in half in about ten seconds and is skipped astonishingly often.
If the tester shows nothing, check the firmware next. Reflash a known-good keymap, confirm you are on the expected layer, and check whether a layer-lock or a stuck modifier is masking the key. On QMK and VIA boards, a misconfigured layer is at least as common a cause as a hardware fault. Also try the board on a different computer and a different cable — a partly failed cable can produce weirdly selective symptoms rather than a clean total failure.
Step two: isolate the switch
On a hot-swap board, pull the suspect switch and swap in one from a key you rarely use, such as scroll lock or right control. If the fault moves with the switch, the switch is bad — usually a bent pin or a contaminated leaf. If the fault stays with the position, the problem is the socket or the PCB trace. This one substitution is the most informative test in the whole process and takes under a minute.
Inspect the pins closely under good light. A pin bent ninety degrees under the housing is obvious; a pin bent five degrees that simply misses the socket contact is not, and it is the more common case. Straighten with fine tweezers and reinsert with the PCB supported from below. If the switch itself is at fault, open it and clean the leaf with isopropyl alcohol; contamination from over-enthusiastic lubing is a frequent culprit on freshly built boards.
Step three: sockets, joints and traces
If the fault stays with the position, examine the socket. Look for a socket lifted at one end, which happens when a switch is pulled out crookedly, and for one of the two contact leaves splayed open. A lifted socket needs resoldering; a splayed contact can sometimes be gently closed with tweezers but is a temporary fix at best. On soldered boards, look for a dull, cracked or missing joint and reflow it with fresh solder.
If everything looks correct, use a multimeter in continuity mode. With the board unplugged, probe the two socket contacts while pressing a known-good switch into place; you should hear a tone. Then trace the matrix: dead keys arriving in whole rows or columns point to a broken trace or a failed diode rather than anything to do with switches. A single dead diode is repairable with a fine-tip iron and a replacement from any electronics supplier.
Chatter, ghosting and total failure
Chatter — one press producing two characters — is a worn or dirty switch leaf in almost every case. Clean it, and if that fails, replace the switch. Firmware debounce settings can mask chatter and are worth raising slightly, but a debounce value high enough to hide a badly worn switch will also make fast typing feel unresponsive, so treat it as a stopgap rather than a repair.
Ghosting — extra keys registering during multi-key presses — indicates a missing or reversed diode on a matrix board and is a manufacturing or assembly fault rather than wear. A board that will not enumerate at all is usually a cable, a daughterboard connector that has worked loose, or a controller stuck in bootloader mode; try a different cable, reseat the JST connector, and attempt a flash before concluding the PCB is dead. Our build troubleshooter walks these symptom paths interactively and points at the specific component to check next.
Keep a short written log while you diagnose. Note which keys fail, whether the failure is intermittent, what you changed between tests, and which components you have already swapped. Faults that seem random usually turn out to follow a row, a column or a temperature pattern, and that structure is only visible once you have written three or four observations down. The log also prevents the most demoralising outcome in keyboard repair, which is repeating a test you already performed twenty minutes earlier because you cannot remember the result.