Why most sound tests tell you nothing
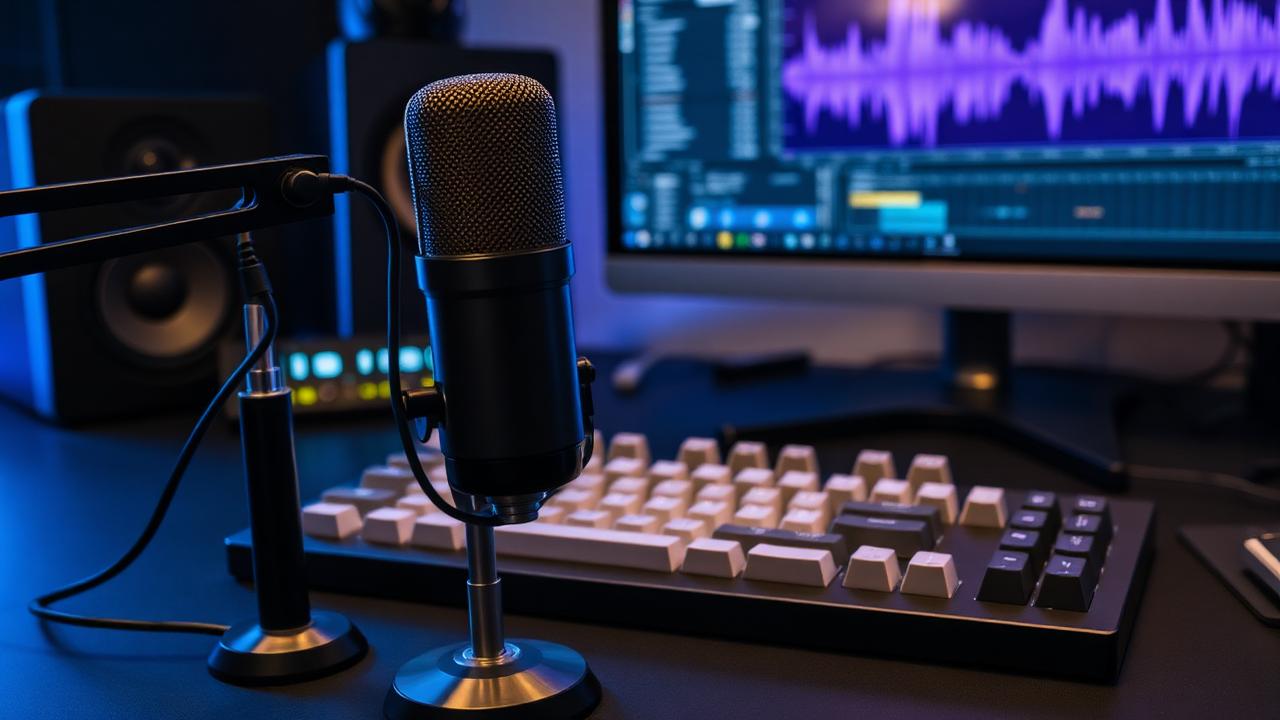
A keyboard sound test is a recording of somebody typing, and every stage between their fingers and your ears changes what you hear. Microphone type and distance, room reflections, gain staging, compression, the codec the video platform applied, and finally your own headphones all impose their character. Two identical boards recorded in different rooms can sound like different products, and a single board can be made to sound deep or bright by moving the microphone twenty centimetres.
The typing itself is an even bigger variable. Force and rhythm change the ratio of top-out to bottom-out sound dramatically, and reviewers naturally type in whatever way flatters the board. This is not usually dishonesty; it is the same effect as photographing a room with a wide lens. The practical conclusion is that sound tests are useful for comparison within one recording session and nearly useless across sessions.
Recording a test that is actually fair
Use one microphone in one fixed position, roughly thirty centimetres in front of the board and slightly above the keycap plane. Mark the position with tape so you can return to it exactly. Turn off any automatic gain control, set levels so peaks land around minus twelve decibels, and disable noise suppression, which mangles transients badly. Record uncompressed if you can; heavy compression flattens the difference between top-out and bottom-out that you are trying to hear.
Type the same passage each time at a consistent pace, and include three specific things: a run of ordinary letters, ten repeated spacebar presses, and each of the large stabilised keys pressed individually and off-centre. The stabilised keys reveal rattle that ordinary typing hides. Record the room silent for five seconds at the start so listeners can hear your noise floor. Finally, record before and after each modification without moving anything, so the comparison is honest.
What to listen for
Separate the sound into three events. Top-out is the stem returning and striking the upper housing — a lighter, higher click that dominates when you type quickly. Bottom-out is the stem hitting the lower housing, transmitted into the plate and case, and it carries most of the low-frequency character. Between them lies the travel noise: spring ping, stem-to-housing scrape, and stabilizer rattle. Good tuning mostly means removing that middle category entirely.
Then judge decay. A short decay means the case is absorbing energy; a long one means it is resonating. Neither is wrong, but a long decay compounds at speed, turning fast typing into a wash. Pitch is the other axis: high suggests metal plate, thin keycaps and hard mounting; low suggests plastic plate, thick keycaps and foam. Describe boards on these two axes rather than with vocabulary like thock or clack, which mean different things to different people.
Diagnosing problems from the recording
A metallic ring that lingers after the keypress is almost always spring ping, and it appears most clearly on isolated slow presses. A single sharp tick trailing the spacebar is stabilizer wire rattle. A hollow, boxy resonance under every key means an empty case cavity that needs foam. An inconsistent tone where some keys sound thinner than others points to uneven plate support, which is common on tray mount boards and fixable with poron over the standoffs.
Chatter shows up visually rather than audibly: open the waveform and look for two transients a few milliseconds apart where you pressed once. This is far easier to spot in an editor than by ear, and it is a good reason to keep your recordings rather than deleting them after posting. If you find it, our build troubleshooter walks through confirming whether the cause is the switch, the socket or the firmware debounce setting.
Using tests to guide modifications
Change one variable at a time and record after each. Lubing switches reduces travel noise and slightly lowers pitch. Adding case foam shortens decay and reduces hollowness without changing pitch much. Adding plate foam lowers pitch and deadens the top end noticeably, which many people find goes too far. A tape mod on the PCB underside raises perceived warmth slightly. Swapping keycaps for thicker PBT lowers pitch more than most people expect.
Keep a short log with the recording filename, the change made, and one sentence describing the result. After five or six modifications you will have a personal reference library that is worth more than any online sound test, because it was recorded in your room with your microphone and your typing style. Our dampening calculator estimates foam quantities for each cavity so you are not guessing at how much material a given change requires.
One habit makes all of this far more useful: record yourself typing normally rather than performing. Reviewers naturally slow down and press deliberately when a microphone is running, which exaggerates bottom-out and hides the top-out wash that dominates real use. Do a take at your genuine working speed on genuine working text — an email, a paragraph of code, whatever you actually write — and listen to that as the primary evidence. The deliberate slow take is still worth capturing as a diagnostic, because isolated presses expose ping and rattle clearly, but it should never be the recording you use to decide whether you like the board.