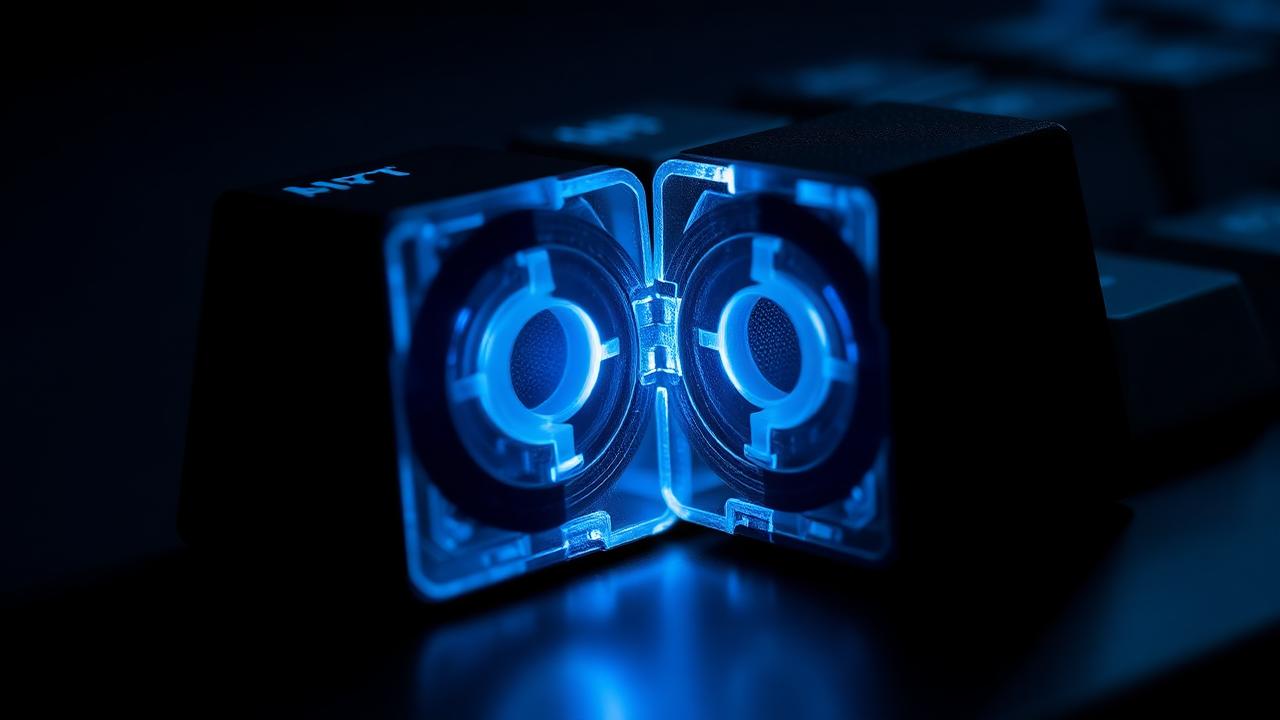
Profile changes more than looks
A keycap profile describes two things: the height of each row and the sculpt, meaning whether rows are angled differently to form a curved typing surface. These sound like cosmetic details, but they change wrist angle, finger travel and the sound of every keystroke. A tall, heavily sculpted set raises your fingertips ten or more millimetres above a flat low-profile set, which changes how much wrist extension you need and whether a wrist rest helps or hurts.
Sculpted profiles such as Cherry, OEM and SA give each row its own angle, cradling the fingers and providing tactile confirmation that you are on the home row. Uniform profiles such as DSA and XDA use the same shape everywhere, which is a gift for ortholinear and split boards where the rows do not follow the traditional stagger, and for anyone who likes to rearrange keys freely. Neither is objectively better; they suit different hands and different boards.
The common profiles, ranked by height
Cherry profile is the enthusiast default: low, sculpted, with a gently dished top and a short front wall that produces a crisp, contained sound. OEM is a few tenths of a millimetre taller with slightly steeper angles and is what most prebuilt boards ship with, so it feels immediately familiar. Both are sculpted across five rows and both have vast aftermarket support, which matters when you need an odd-size modifier later.
SA is the tall, spherical, retro-looking profile. It looks spectacular in photographs, sounds deep and loud because of the large internal volume, and takes real adjustment to type on quickly — many people find it amplifies switch wobble and requires a wrist rest. DSA and XDA sit in the middle for height and are uniform, with XDA having a wider, flatter top surface that suits people who rest fingertips rather than curl them. Choosing between these is mostly about the height your wrists tolerate.
ABS versus PBT
ABS is a smoother, denser plastic that produces a slightly higher-pitched, clackier sound and takes vivid colours well. Its weakness is famous: hand oils polish the surface over months of use, producing the glossy 'shine' that enthusiasts either accept as patina or resent. Modern thick doubleshot ABS from good manufacturers is far more durable than the thin caps found on budget boards, and the shine takes considerably longer to appear.
PBT is more textured, harder and more resistant to shine and to solvents. It sounds slightly deeper and drier. Its trade-offs are that it warps more easily during manufacturing — which is why some PBT sets have a visible bow in wide keys — and that colour matching between production runs is less consistent. For most builders, PBT is the safer long-term purchase, while ABS remains the better choice when you want a specific vibrant colourway or the sharpest sound.
Legends: how the letters get there
Doubleshot moulding injects two colours of plastic in separate passes, so the legend is a physically separate piece of plastic that goes all the way through the cap. It cannot wear off, and it allows shine-through for backlighting. Dye-sublimation heats dye into the surface of a PBT cap, giving very sharp, fine detail with no texture change, but it can only print darker onto lighter, so light legends on dark caps are not possible with this method.
Reverse dye-sublimation and UV printing are the two ways manufacturers get light legends on dark PBT. Reverse dye-sub prints the whole background around the legend and is durable but blurs fine detail slightly. UV printing lays ink on the surface and is the least durable option — expect wear on your most-used keys within a year or two of heavy use. Laser etching, common on cheap sets, is durable but leaves a visible depression and often looks rough under close inspection.
Compatibility: the part that ruins purchases
The most common keycap disaster is a kit that lacks the sizes your layout needs. Standard TKL layouts are safe. Anything else needs checking: 65% boards often need a 1.75u right shift, Alice boards need dual 3u or 2.25u spacebars, and many 40% and ortholinear boards need extra 1u modifiers that base kits omit. Check your board's bottom-row widths against the kit's included-sizes diagram before ordering, not after.
Also verify stem compatibility and switch clearance. Almost everything uses the MX cross mount, but box-style switches with larger housings can foul the internal walls of certain thick caps, and low-profile switches need entirely different caps. Our keycap compatibility guide walks through the sizes each layout requires, and the profile angle calculator estimates finger height and typing angle for each profile so you can judge whether a tall set will suit your desk before you commit to a group buy with a fourteen-month lead time.
Budget deserves one honest note. Keycaps are frequently the most expensive single component of a custom build, and the price gap between a fifty-unit budget set and a two-hundred-unit designer set buys you better colour consistency, thicker walls and complete size coverage rather than a fundamentally different typing experience. If money is tight, spend it on a well-made standard set in a profile you know suits you, and treat exotic colourways as a later upgrade once the rest of the board is finished and you know what the sound signature actually needs.