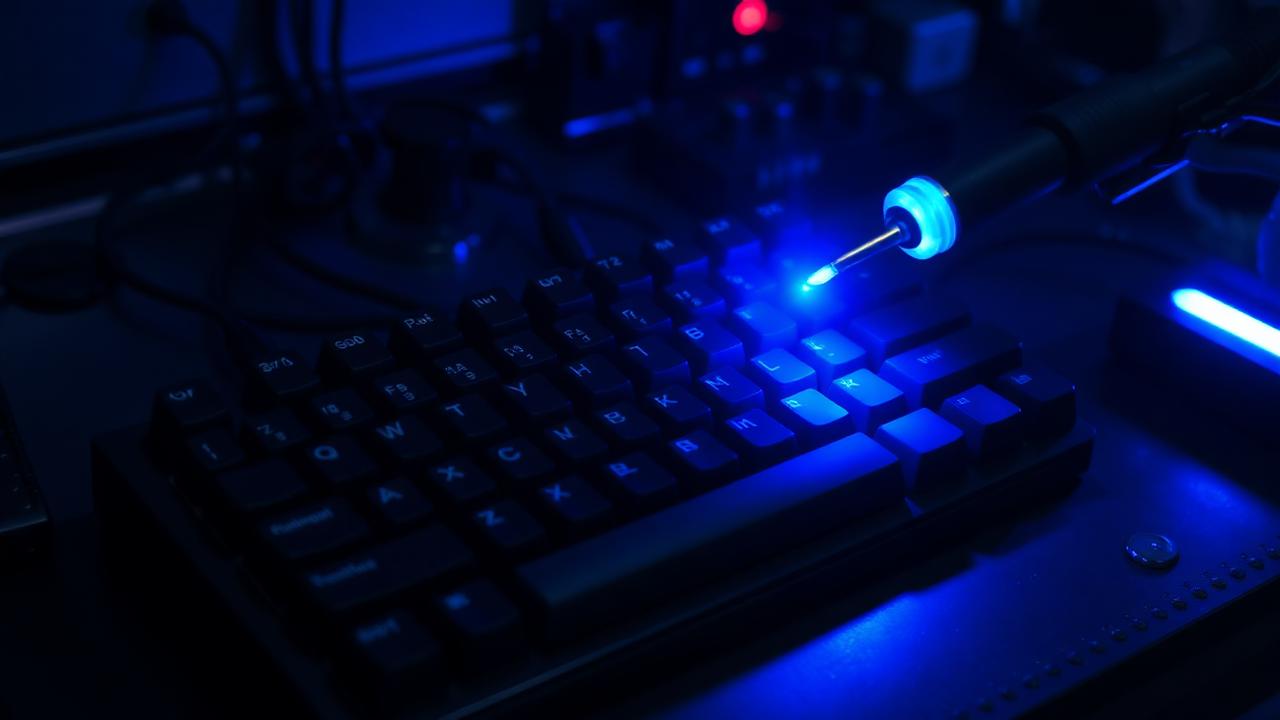
The two ways a switch meets a PCB
On a soldered PCB, each switch's two pins pass through plated holes and are permanently joined with solder. On a hot-swap PCB, the manufacturer has already soldered a small spring-loaded socket — almost always a Kailh unit — over each hole, and switch pins simply push into it. Functionally, both produce the same electrical connection. The difference is entirely about what happens when you want to change something.
That difference has become the biggest fork in the road for new builders. Hot-swap removes the need to own or learn a soldering iron, which lowers the barrier to entry dramatically and has driven most of the hobby's recent growth. Soldered boards remain the choice of people who value permanence, unusual layouts, and the marginal acoustic and durability advantages of a direct connection.
The case for hot-swap
Hot-swap turns switch choice from a permanent commitment into an afternoon experiment. You can buy switch samples, try five types under your own fingers on your own board, and settle on a favourite with real evidence rather than YouTube sound tests. For anyone still discovering their preferences — which is most people in their first two builds — this is worth more than any specification advantage a soldered board offers.
It also simplifies repair. A dead switch is replaced in ten seconds with no tools. Disassembly for cleaning after a spill is straightforward. And when you eventually sell or repurpose the board, you can keep the switches you like and pass on the rest. The practical ceiling is socket lifespan: Kailh sockets are rated for roughly one hundred insertion cycles, which sounds limiting until you realise that means changing your entire switch set a hundred times.
The case for soldering
Soldered joints do not loosen, do not develop intermittent contact, and add no extra height between switch and PCB. Some builders report a subtly cleaner sound on soldered boards, attributable to the switch sitting flush against the PCB rather than resting on socket bodies. The effect is small and easily swamped by foam choices, but it is consistent enough that many high-end custom kits still ship soldered-only.
Soldered PCBs also support layout flexibility that hot-swap cannot. Multi-layout PCBs with alternate positions for split backspace, stepped caps lock or split spacebars need switch holes in positions that would require sockets nobody will use; manufacturers frequently offer these options only in soldered form. If you want an unusual bottom row or a specifically weird layout, soldering may simply be the only route.
Failure modes and how to avoid them
The classic hot-swap failure is a bent switch pin. Pins bend when a switch is inserted at an angle, and the resulting dead key looks alarming but is almost always fixed by pulling the switch, straightening the pin with tweezers, and reinserting carefully. Always check both pins are straight before pressing a switch home, and always support the PCB from underneath so it does not flex during insertion.
The classic soldering failure is a cold joint: solder that has adhered to the pad but not properly wetted the pin, producing a connection that works today and fails in six months. Cold joints look dull and lumpy rather than shiny and conical. Use a temperature-controlled iron at around 320 degrees Celsius with leaded solder, heat the pad and pin together for a second before feeding solder, and inspect every joint before closing the case. Socket damage on hot-swap boards, by contrast, is usually caused by pulling a switch out crookedly and lifting the socket off its pads — a repair that requires soldering anyway.
Making the call
Choose hot-swap if this is your first or second build, if you are still unsure what switches you like, if you do not own a soldering iron, or if you expect to lend or resell the board. Choose soldered if you know exactly what switches you want, if your desired layout is only available soldered, or if you specifically enjoy the assembly process and the permanence of the result.
One caveat worth planning for: not every hot-swap socket accepts every switch. Five-pin switches need PCB-mount holes or two clipped legs, and some sockets are tight on box-style pins. Run your intended switch through the switch compatibility checker and the hot-swap socket selector before ordering ninety of them, because clipping legs on a full set is an hour of work you can simply avoid by buying the right variant.
It is also worth noting that the two options are not permanently exclusive. A soldered board can be converted to hot-swap by desoldering every switch and installing sockets, and a hot-swap board with damaged sockets can be repaired by removing the socket and soldering the switch directly. Neither conversion is pleasant — expect several hours and a real risk of lifting a pad — but knowing they exist takes some of the pressure out of the original decision. For most builders the choice determines convenience for the next year, not the fate of the board forever.