The problem foam solves
An empty keyboard case is a resonant box. Each keystroke injects energy into the plate and the case walls, and the air cavity underneath amplifies certain frequencies. The result is the hollow, echoing quality that makes an unmodified budget board sound cheap, and the high-pitched ring that plagues thin aluminium cases. Damping material converts that acoustic energy into a small amount of heat before it can bounce back out, lowering the perceived pitch and shortening the tail of each keystroke.
The important framing is that damping is subtractive. Every layer you add removes something from the sound — usually high frequencies and reverb first. Add enough and you arrive at a completely dead, thocky board with no character at all, which some people love and others find lifeless. Tuning acoustics well means deciding which frequencies you want to keep, then adding only the material needed to remove the rest.
Case foam: the volume filler
Case foam sits between the PCB and the bottom of the case, filling the air cavity that produces the hollow echo. Poron and neoprene in three to five millimetre thicknesses are the standard choices. Poron is more open-celled and slightly more forgiving of compression; EVA and neoprene are cheaper and firmer. The rule of thumb is to fill roughly seventy to eighty per cent of the cavity depth: enough to break up the resonance without pressing on the PCB, which can flex it and cause switches to sit unevenly.
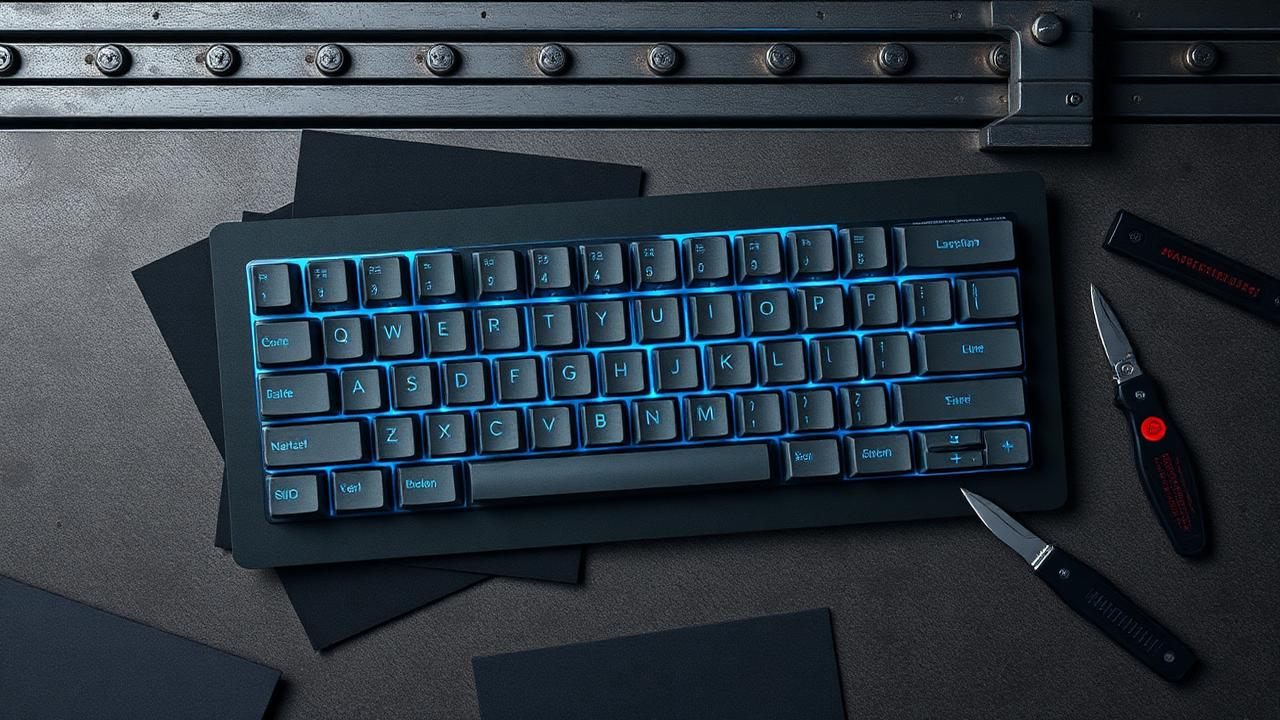
Cutting is the whole job. Trace the PCB outline onto the foam, mark the USB daughterboard cutout and any standoffs, and cut with a fresh craft knife against a metal rule in one confident pass rather than several nervous ones. Leave a one to two millimetre clearance around screw posts so the foam does not bunch when the case closes. If your case has a weight or a gasket rail, dry-fit before final assembly; foam that is a millimetre too thick will hold the halves apart and create a rattle worse than the one you started with.
Plate foam and PE film
Plate foam is a thin sheet, usually one to three millimetres of Poron, sandwiched between the plate and the PCB with holes for every switch. It removes the sharp upper-mid frequencies produced by switch bottom-out reaching the plate, and it makes the whole board sound more uniform between the centre and the edges. It also softens typing feel slightly, which is either the point or the drawback depending on your preference. On gasket-mounted boards it can reduce the flex you paid for, so try the board both ways before deciding.
PE foam — a very thin polyethylene film placed between switches and PCB — does something different. Rather than absorbing broadly, it raises the pitch and adds the sharp, poppy 'marbly' character that has become fashionable. It is nearly free, easily reversible, and one of the few mods that adds character rather than removing it. Note that PE film requires slightly more force to seat switches through, and on hot-swap boards you should check that every switch pin has passed cleanly through both film and socket.
Tape mod and other cheap experiments
The tape mod applies two to four layers of masking tape to the underside of the PCB. It costs nothing, takes ten minutes, and reliably deepens the sound while adding a slight poppiness. Because it is fully reversible, it is the best first experiment for anyone unsure whether they even want a modified sound. Use ordinary painter's tape rather than duct tape; heavy adhesives leave residue that is unpleasant to remove and can foul solder joints.
Other low-cost options include shelf liner in the case bottom, a strip of Poron under the daughterboard cable to stop it buzzing, and o-rings on keycap stems to shorten travel and mute bottom-out. O-rings are worth calling out as the most divisive: they genuinely reduce noise for shared offices, but they also make typing feel spongy and cut two tenths of a millimetre or more from travel, which many typists dislike immediately.
Building your own stack
A sensible sequence is to start bare, listen, then add one layer at a time and listen again. Most builders converge on either case foam plus PE film for a poppy modern sound, or case foam plus plate foam for a deep and muted one. Doing all four at once teaches you nothing about what each contributes and often produces a board so damped that it sounds like typing on cardboard.
Material cost is small — usually under fifteen units of currency for a full set of sheets — but waste from bad cuts is where budgets go. Measure your plate and PCB dimensions, decide on thickness, and use our dampening material calculator to work out the sheet area you need including a margin for mistakes. Buy one size up from the calculated area; the second attempt at a tricky cutout is always the good one.
Keep the offcuts, too. Small scraps of Poron are exactly what you need later for shimming a stabilizer housing, damping a daughterboard cable, or filling the gap under a case weight that has started to buzz. A labelled envelope of leftovers has saved more builds than any single purchased mod.