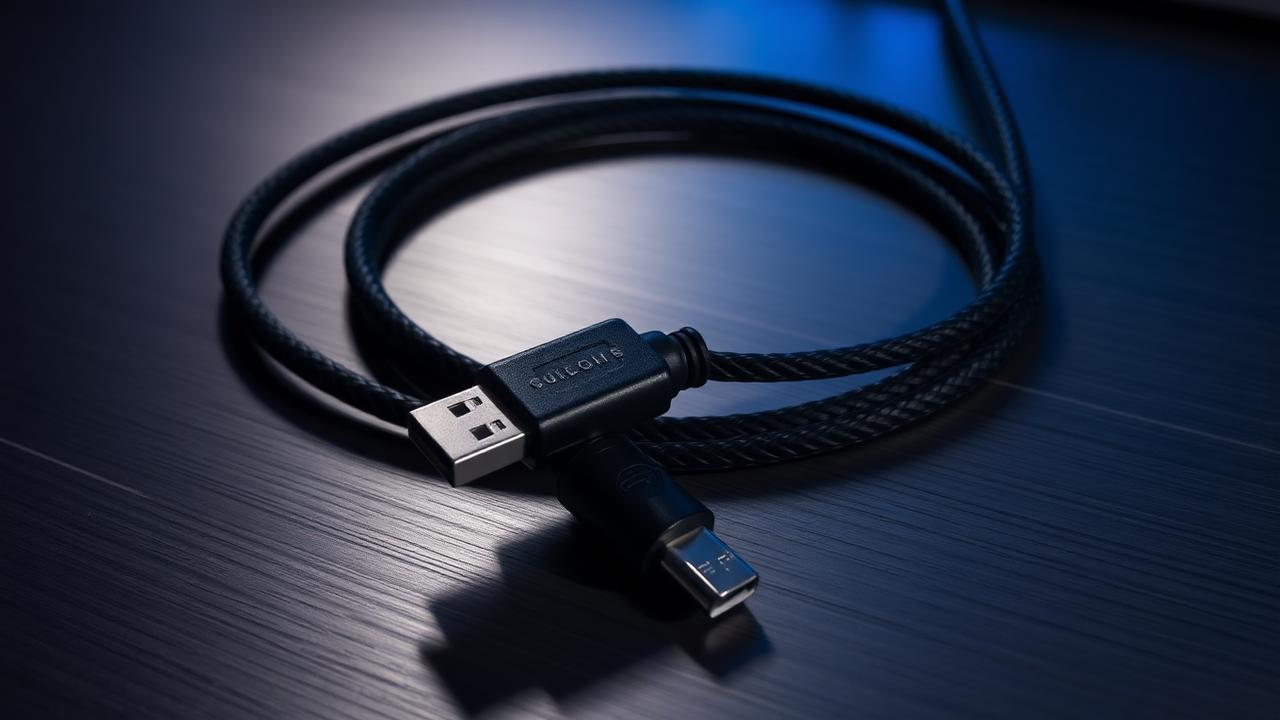
What a custom cable is
A custom keyboard cable is a hand-assembled USB cable, usually paracord-sleeved, often coiled, and frequently split into two segments joined by a screw-together aviator connector. Electrically it is an ordinary USB 2.0 cable: four conductors, no special signalling, no performance benefit. Its value is entirely in fit and finish — the length is exactly right for your desk, the colour matches your keycaps, and the detachable connector means you can unplug the keyboard without dragging the whole cable out from behind the monitor.
That framing is important because cable marketing often implies otherwise. Keyboards send tiny amounts of data at low speed; a well-made three-dollar cable and a well-made eighty-dollar cable transmit identical keystrokes. What you are paying for is craft, aesthetics and convenience. Those are legitimate reasons to buy one, but they are the only reasons, and knowing that keeps the purchase in proportion to the rest of the build budget.
Measuring the length you need
Length is the one specification you cannot fix later, and the most common error is ordering short. Measure in three segments: from the keyboard's port to the back edge of the desk, down to the floor or to the PC's position, and finally the run to the actual USB port on the machine. Add fifteen to twenty per cent slack so the cable is not under tension when you reposition the board, and add extra if you regularly move the keyboard between sitting and standing desk heights.
Coiled cables complicate the arithmetic. A coil section shortens dramatically when relaxed — the usable straight length of a coiled cable is typically only forty to sixty per cent of its rated length. If you want a coil purely for aesthetics, keep the coil section near the desk surface where it is visible and keep the run to the computer straight. Our cable length calculator handles both cases, converting your desk measurements into a total order length that includes coil compression and slack.
Connectors and construction
Most modern boards use USB-C at the keyboard end and USB-A or USB-C at the host. Pay attention to the connector housing size: some cases have a recessed port that will not accept a chunky aftermarket connector, and a cable that physically will not seat is a frustrating way to discover this. Check your case's port cutout dimensions or buy from a maker who lists slim-housing options.
An aviator connector splits the cable in two with a threaded metal coupling. It looks industrial, matches the aesthetic of most custom builds, and lets you detach the keyboard segment quickly for transport. It also introduces one more point of mechanical failure and adds cost. GX16 is the common four-pin size; there are three-pin and five-pin variants, and mixing incompatible halves from different vendors is a real risk when buying second-hand.
Making one yourself
Building a cable is one of the more approachable soldering projects: strip and tin four conductors, sleeve them in paracord and heatshrink, solder to the connector pins, and test continuity before closing the housing. The main skill is patience with heatshrink alignment. Coiling is done by wrapping the sleeved cable tightly around a metal rod and heating it with a heat gun or in boiling water, then letting it cool in shape.
Budget roughly the same for materials as a mid-range prebuilt cable once you have bought paracord, heatshrink, a connector, a USB-C housing and a decent soldering iron. The first cable will not look professional. The second will be fine. Test with a multimeter before plugging into a computer: a shorted power line can damage a USB port, which is a costly outcome for a project undertaken to save money.
Is it worth the money?
For a board that sits permanently on one desk and is never moved, a custom cable is a pure aesthetic upgrade and should be budgeted as such — after switches, keycaps and stabilizer materials, not before them. For anyone who transports a keyboard between home and office, the detachable aviator is genuinely convenient and reduces strain on the keyboard's USB port, which is the component most likely to fail on a heavily travelled board.
If you are undecided, buy a good braided off-the-shelf cable in the correct length first. Living with the right length teaches you more about what you want than any product photo, and if you later commission a custom one you will already know the exact measurement to specify. Running the numbers through the cable length calculator before either purchase costs nothing and prevents the most expensive mistake in this category.
One practical maintenance tip applies to every cable, custom or not: route it so the connector at the keyboard end is never side-loaded. The most common cause of a failing USB-C port is a cable pulled sideways every time the board is nudged, which slowly works the port's solder pads loose from the PCB. A short length of slack looped behind the board, or a cable clip on the desk edge, removes that stress entirely and costs nothing. On boards with a daughterboard, this also protects the ribbon connector inside the case.